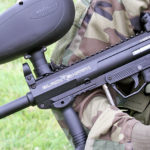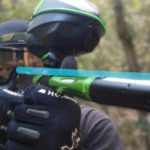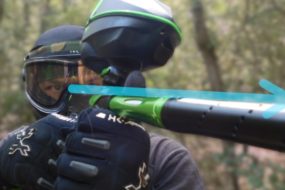
The performance and lifespan of a paintball gun are often dictated by its cleaning and maintenance schedule. Like other tools, guns require regular upkeep to ensure they operate effectively. Cleaning is especially important to paintball guns because paintballs might start bursting in your barrel.
If you repeatedly ignore such maintenance tasks, you might end up having to invest in new parts to ensure the gun is precise. Cleaning is an easier way out knowing that that equipment speed and accuracy are crucial during paintball tournaments. Below is a step-by-step process of cleaning your paintball gun.
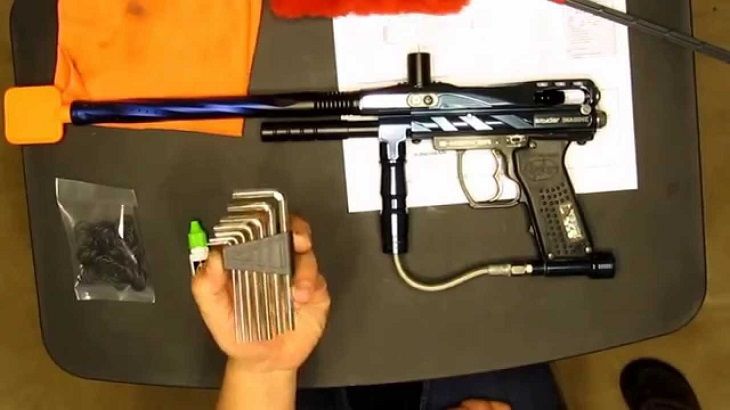
1. Remove CO2 or Compressed Air Tank
Removing your gun’s air tank helps you to prevent injury or accidental fires. This step is not only to protect you but others around you as well.
2. Disassemble the Gun
After you have removed the air tank, you can proceed to disassemble your gun. Note that it is important to follow a professional step-by0step when disassembling or assembling your paintball gun for effective cleaning. A Google search or manual of your paintball will be enough to provide you will detailed procedures.
3. Organize Parts
Many parts make up your paintball gun. Having an organized workplace helps arrange the parts in the order specified. For instance, you can pair parts and their fasteners to make reassembling the gun easier
4. Clean Parts Individually
You can adopt a custom pattern when cleaning your paintball gun. There are several parts including the barrel, grip frame, bolt, hopper, and hammer.
The basic cleaning steps you can add onto include:
- Cleaning the Gun Barrel – most people start at the barrel with a squeegee. It is considered effective in cleaning out any residual paint. The gun’s performance and accuracy are greatly affected because you may start experiencing jamming when in action. After the squeegee, you can use paper and warm water and finally a dry towel to dry the barrel.
- Cleaning the Body – for this step you will need a squeegee, a toothbrush, and warm water. First, use a squeegee to clean the marker’s body. Proceed to use the toothbrush to clean areas that are out of reach. Finally, use a dry paper towel to wipe down the body.
- Cleaning the Gun’s Grip Frame – clean this part and ensure you remove all dried paint using a toothbrush. Note that reassembling the trigger after cleaning might be difficult unless you are an expert.
- Clean the Bolt and Hammer – These parts are at the bottom of this list but are also very important gun parts. Use a wet paper towel to clean out any residual in this unit. Dry it off before moving on to other areas. Check on the O-rings installed in the bolt and hammer. You may have to change worn and damaged O-rings before reassembling the gun.
5. Conduct an Inspection on Your Gun Components
After cleaning and drying, take your time with every part and look for damages. Note every internal and external part that requires replacement.
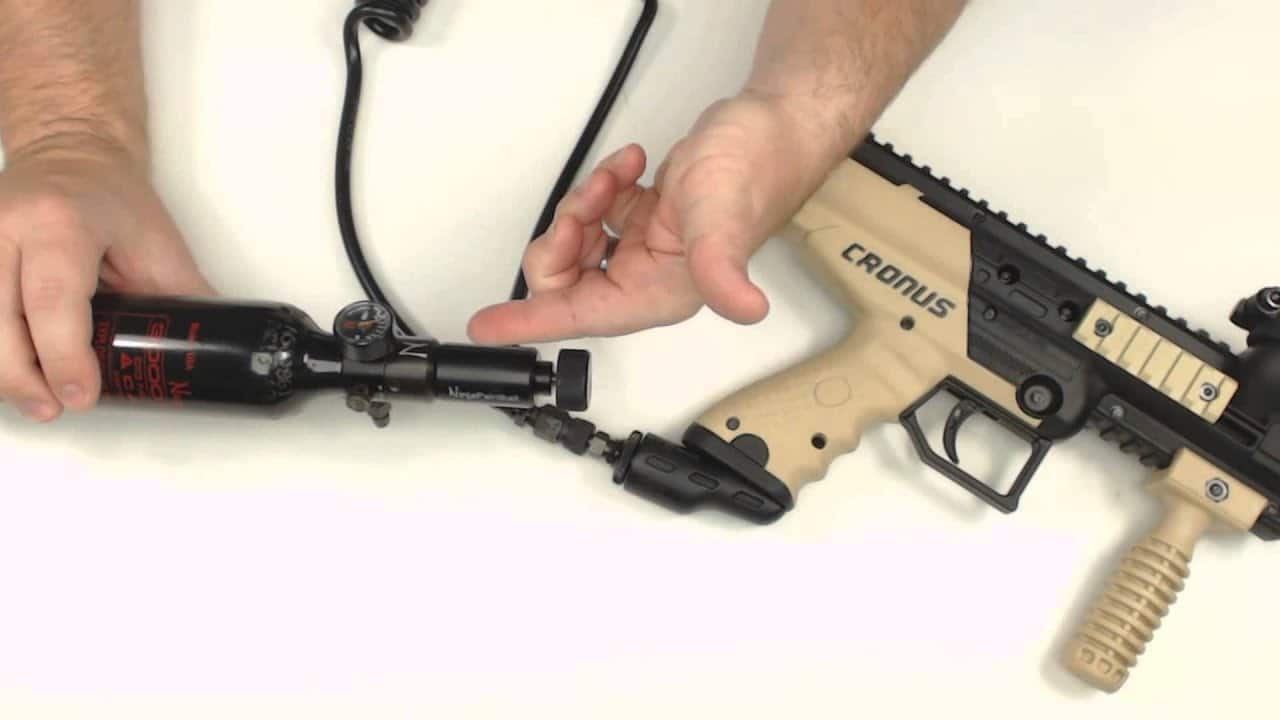
6. Lubricate Your Paintball Gun
After the inspection, consult your manual or Google recommended oils brands for your gun. Remember to lubricate your O-rings properly to prevent CO2 or air leaks.
7. Reassemble the Gun
Ensure you follow through, matching all internal parts by either your manual or Google to avoid disassembling.